Why add Windy to channels
When Windy can see Slack channels, Windy understands who’s working together, what projects are active, and when teammates collaborate. This helps Windy:- Identify the right moments to request feedback
- Reach out to the right people at the right time
- Surface relevant activities in recaps
- Provide better context in reports
Recommended approach: Auto-join all public channels
We recommend having Windy auto-join all public channels. This gives Windy the most context and ensures they don’t miss important collaboration signals. To enable auto-join:- Go to Settings in Windmill
- Select Integrations
- Select Slack
- Go to Settings
- Click Autojoin all public channels
Most Windmill customers use auto-join for public channels. This approach
requires no ongoing management and gives Windy comprehensive visibility into
team collaboration.
Adding Windy to specific channels
If you prefer more control over which channels Windy can access, you can add Windy to individual channels. Option 1: Using /invite in Slack- Open the Slack channel you want Windy to join
- Type
/invitein the channel - Select Add apps to this channel
- Search for Windy and add the app
- Open the Slack channel you want Windy to join
- Click the channel name at the top
- Click the Integrations tab
- Click Add apps
- Search for Windmill and add the app
What happens when Windy joins a channel?
When you add Windy to a Slack channel, Windy does NOT send a notification to channel members. This means people won’t get pinged or notified when Windy is added. However, a message will appear in the channel that says “Windy joined #channel-name”. This message is visible to anyone viewing the channel, but it doesn’t trigger notifications, mentions, or alerts to channel members.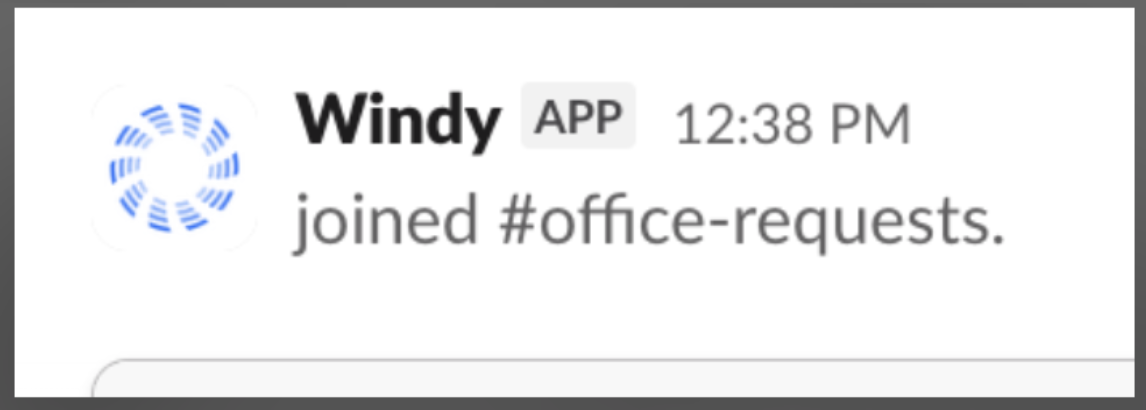
No notifications are sent when Windy joins a channel. Members will only see a message in the channel history if they’re actively viewing it.
Adding Windy to private channels
Windy can join private channels using the same methods as public channels:- Open the private channel
- Type
/inviteand select Add apps to this channel - Search for Windy and add the app
Removing Windy from channels
If you need to remove Windy from a channel, there are two ways to do it: In Slack:- Open the channel
- Type
/remove @Windy - Confirm removal
- Go to Settings > Integrations > Slack
- Click Settings
- Find the channel you want to remove Windy from
- Click the three dots
- Select Leave channel
What Windy can see
When you add Windy to a channel, Windy can:- See messages and threads in that channel
- Identify who’s collaborating and on what
- Detect key moments for feedback collection
- Reference projects and activities in recaps
FAQs
Does Windy notify everyone when added to a channel?
Does Windy notify everyone when added to a channel?
No, Windy does not send notifications when added to a channel.When you add Windy to a Slack channel, channel members will NOT receive any notifications, pings, or alerts.A message will appear in the channel that says “Windy has joined this channel”, but this is just a visible message in the channel history — it doesn’t trigger any notifications to channel members. People will only see this message if they’re actively viewing the channel.
Can someone outside a private channel see its messages if Windy is in it?
Can someone outside a private channel see its messages if Windy is in it?
No. Adding Windy to a private channel does not expose that channel’s messages to anyone who isn’t already a member. Windmill enforces Slack’s permissions: if you can’t read the channel in Slack, you can’t read it in Windmill.For workspace-wide engagement data that doesn’t involve message content, see Slack Business Analytics, which only returns aggregate counts.
Can I add Windy to multiple channels at once?
Can I add Windy to multiple channels at once?
The easiest way to add Windy to multiple channels is to enable Autojoin all public channels in Settings > Integrations > Slack. This automatically adds Windy to all public channels without needing to do it manually for each one.For private channels, you’ll need to add Windy individually to each channel you want them to access.