Managing your Org Chart in Windmill
Inviting Team Members to Windmill
Inviting teammates to the platform is very easy. You must be an Admin within Windmill to send invites to others.
As an Admin, navigate to Settings, and then select Org Chart. You'll see a list of all users available in your system. This list is pulled in from integrations with Google, Slack or any other system you may have connected. Feel free to disregard any names that feel out of place, as only team members with assigned managers are included in Windmill's data.
Using this list of employees, you can invite managers or team members to Windmill by clicking the box next to their name, and then selecting "invite to Windmill".

If you don't see an employee listed, you can add them manually by pressing the "Add Employee" button on the top right.

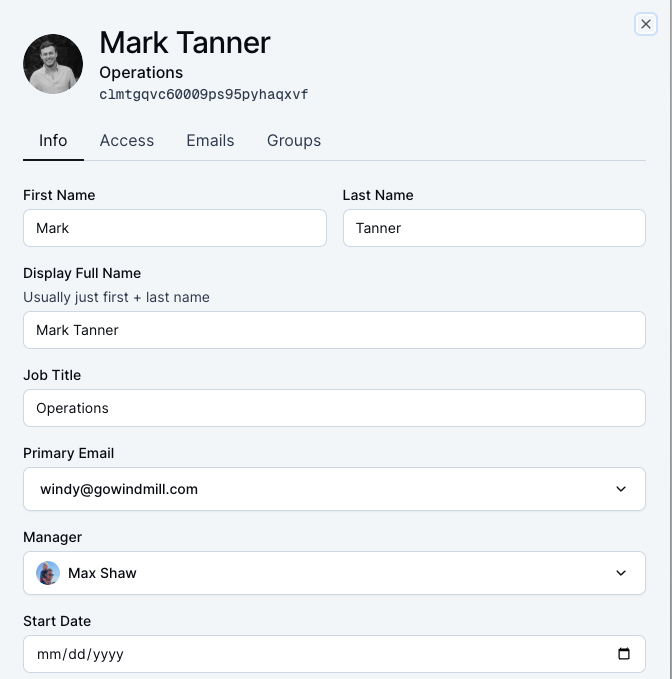
This will prompt you to fill out some information about the team member before adding them to Windmill:

When adding team members to the Windmill, they can either be Admins or Employees. Admins have the ability to edit the org chart, set routines, delegate access, and add integrations. Employees will have access to the platform, but can only create Routines for team members they manage. If they don't manage anybody, employees have access to the Routines they are included in, depending on how they are configured upon set up.
Managing Your Org Chart on Windmill
If you don't use any of our integrated HRIS systems, or don't use an HRIS system at all, you can construct and edit your org chart manually through Windmill (our team can also assist here). Having an Org Chart is essential to using Windmill. Only an employee's manager will have access to a team members' profile and information, so it's essential that the org chart is up to date.
If you are an Admin adjusting your org chart:
1. Navigate to "Settings".
2. Select the "Employees" tab.
3. Select the team member you'd like to edit.
4. Adjust the manager or any other relevant field.
**If you want to add managers in bulk, you can select any number of employees, and bulk update them.
Setting a Primary Email
Sometimes, team members in Windmill have more than one work email address associated with their profile. Your Primary Email is the address Windmill uses for notifications and integrations.
Selecting the correct Primary Email ensures that:
All Windmill notifications are sent to the right inbox.
Slack messages and other integrations connect to the correct account (based on the email you use to log in).
If you use more than one work email, make sure your Primary Email matches the one you use to log in to tools like Slack, Google Workspace, or Microsoft Teams.
To set your Primary Email:
Open your team member profile in Windmill.
Go to the Emails section.
The default email is what’s being used. To change it, click the drop down and select the email you want to make primary.
Confirm your selection by clicking “Update Info”.
Once saved, all notifications and integrations will route through that Primary Email to ensure messages are delivered correctly.
If your HRIS is connected, your org chart will pull in directly from there.